Let’s See, How To Create.
logo design tutorial, how to make logo in photoshop, tutorial for photoshop.
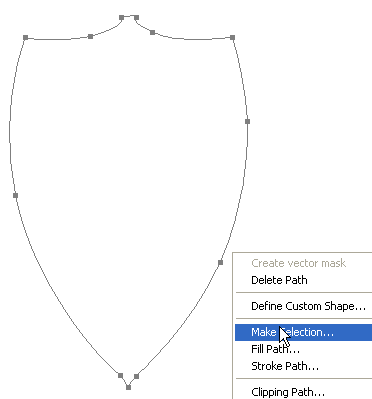
[2]-Now Open New Layer & then create the following shape with the help of ‘Pen Tool’ & press right click > make selection.
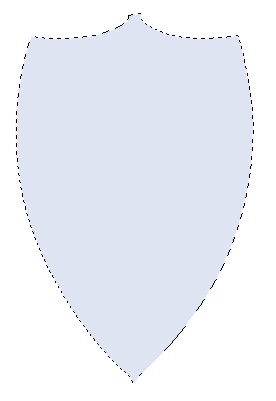
[3]-Now fill the #’dee4f2′ color in selection area.
[4]-Now select the Brush create the following setting a new layer.
[5]-Now create the selection at new layer & fill with #’36404a’color.
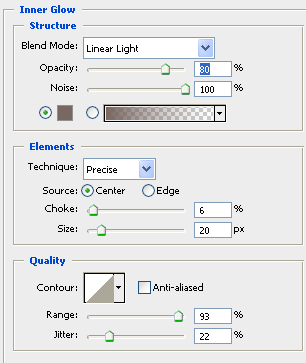
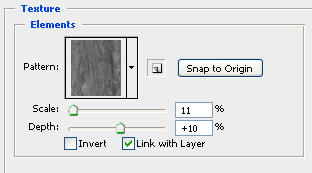
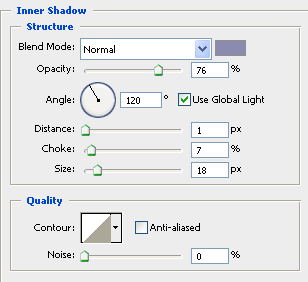
[6]-Now go to Blending Options,& use the following settings
[7]-Now create the selection at new layer & fill with #’36404a’color
.
[8]-Now take the ‘Brush Tool’ create the shading as shown above step [4].
[9]-Now go to Blending Options,select Drop Shadow,Stroke & use the following settings
[10]-Now create the selection at new layer & fill with #’36404a’color.
[11]-Now go to Blending Options,select Bevel & Emboss,Contour & use the following settings
[12]-Now Your Image Should Look Like As Shown Below.
[13]-Now go to the Blending Option & give the following setting of Drop Shadow.
[14]-Now see below for Final Photoshop Output.I hope this is a good tutorial & U can use these Photoshop Techniques in your Graphics
Design project.












No comments:
Post a Comment
All comment are moderate so please don't waste your precious time to spam here....